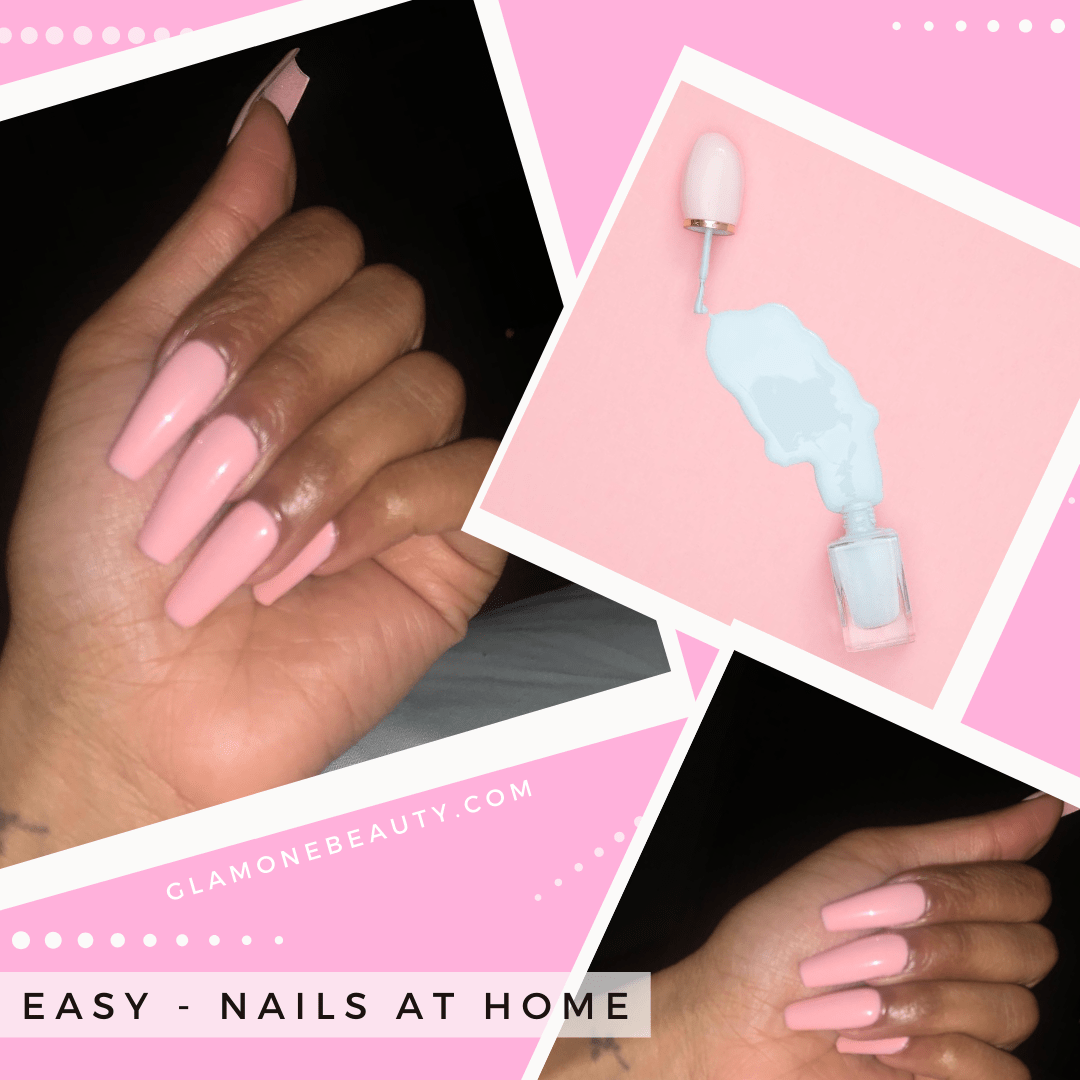
If you’re anything like me then you’ve been trying to save as much money as you can during this pandemic while still looking chic. No need to sacrifice beauty for responsibility I say! I’ve found a new way to do your nails at home.
To me this method is a combination of three methods. The press on, polygel, and acrylic methods. This is the Apres Nails Dupe. The at-home Apres Nails are a bit out of my price range but this dupe gets the job done.
Gel Nails Après Method
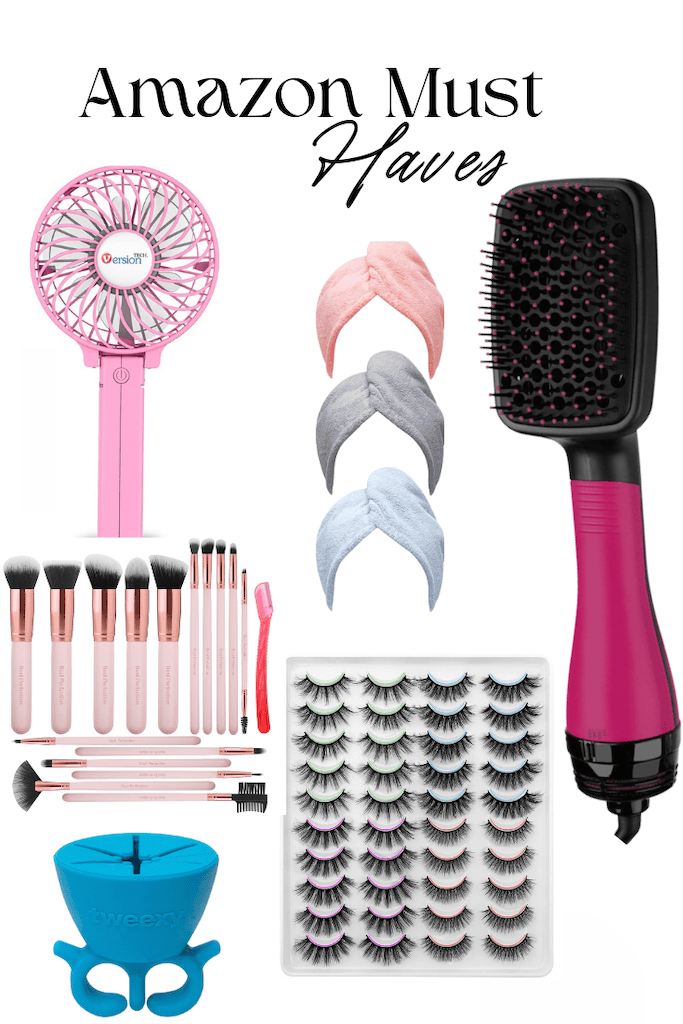
Some products you’ll need are:
Curing Lamp
Nail Filer or optional (Full nail and lamp kit)
Electric Nail Drill
Nail Clipper
Nail Builder Gel Polish
Clear Long Nail Tips
Base Coat
Nail Polish of choice or optional (Gel polish)
Top Coat
Step-by-step:
- First you want to clean up your cuticle area. As the video mentions this will help you achieve a good base and that salon ready look. Any hangnails and overgrown cuticles will cheapen the look.
- Next file your nail bed. My nail beds tend to be a bit
on the sensitive side so I started to file them on the lowest setting of the nail drill but ended using the nail filer for the rest of my nails. - Afterwards, fit the nail tips to your specific nails and with the nail drill, drill the inside of the nail tip so that the builder gel has something to stick to.
- Remember gel polish sticks better to rough surfaces
rather than smooth ones. - Once all of your nails have been sized and buffed, paint a
thin layer of base coat on each nail and cure for 30 seconds to 1 minute. - Now paint a generous amount of builder gel onto your nail bed. At a 45-degree angle take your nail tip and apply sufficient pressure as you press it onto you nail so that there are no air bubbles. This will make sure your nails are sturdy and long lasting.
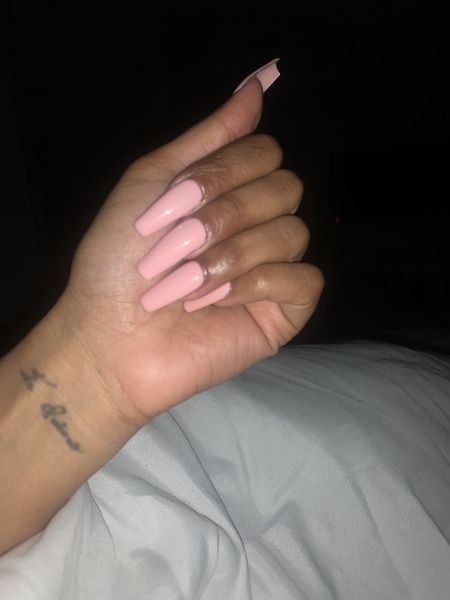
- Next, cure them for one minute. Now is the fun part. With the nail clipper clip the nails to your desired length and paint them with your nail polish of choice.
- Don’t forget the top coat to tie it all together!
Until next time budget queens! Below is an easy to follow Youtube video.

This post was written by Fenix, a 7 year Naturalista, beauty and wig lover.